|
C++
// GxEPD2版本的微雪电子E029A01 2.9寸墨水屏代码
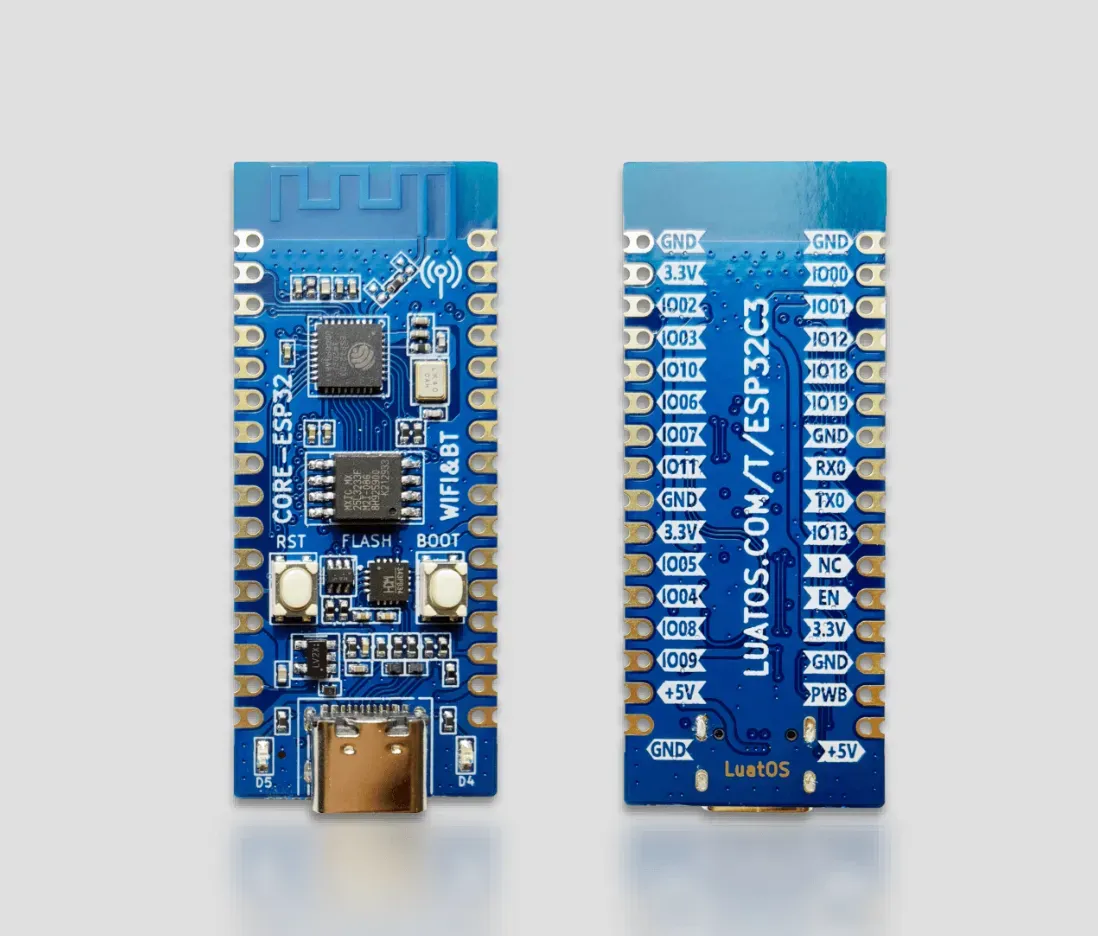
// 适用于AirM2M CORE ESP32C3
#include <GxEPD2_BW.h>
#include <GxEPD2_3C.h>
#include <Fonts/FreeMonoBold9pt7b.h>
#include <Fonts/FreeMonoBold12pt7b.h>
#include <Fonts/FreeMonoBold18pt7b.h>
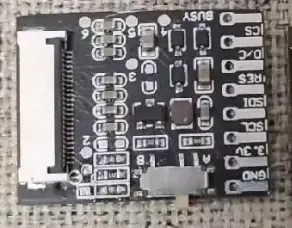
#define EPD_DC 6 // DC数据/命令引脚
#define EPD_RST 10 // RST复位引脚
#define EPD_BUSY 0 // BUSY忙碌状态引脚
#define EPD_CS 7 // CS片选引脚
#define EPD_SCK 2 // SPI时钟
#define EPD_MOSI 3 // SPI数据
// 选择对应的显示器类型
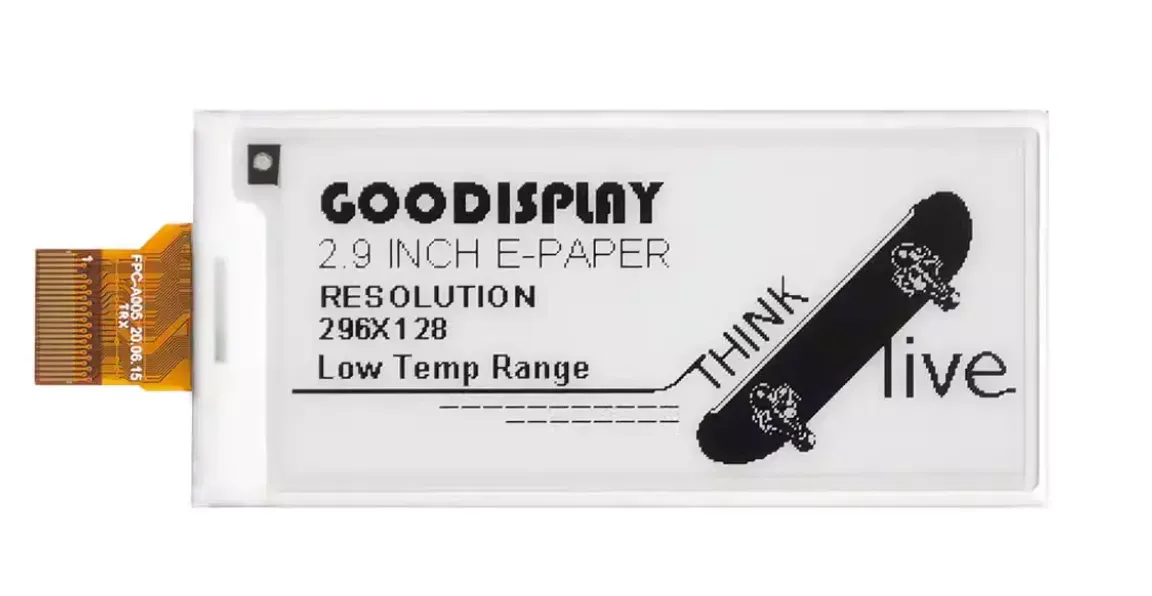
// 对于微雪2.9寸黑白屏(296x128) - E029A01
GxEPD2_BW<GxEPD2_290, GxEPD2_290::HEIGHT> display(GxEPD2_290(EPD_CS, EPD_DC, EPD_RST, EPD_BUSY));
// 辅助函数:绘制虚线
void drawDottedLine(int16_t x0, int16_t y0, int16_t x1, int16_t y1) {
int16_t dx = abs(x1 - x0);
int16_t dy = abs(y1 - y0);
int16_t sx = x0 < x1 ? 1 : -1;
int16_t sy = y0 < y1 ? 1 : -1;
int16_t err = dx - dy;
bool draw = true;
int dotCount = 0;
while (true) {
if (draw && dotCount < 2) {
display.drawPixel(x0, y0, GxEPD_BLACK);
}
dotCount++;
if (dotCount >= 4) {
dotCount = 0;
draw = !draw;
}
if (x0 == x1 && y0 == y1) break;
int16_t e2 = 2 * err;
if (e2 > -dy) {
err -= dy;
x0 += sx;
}
if (e2 < dx) {
err += dx;
y0 += sy;
}
}
}
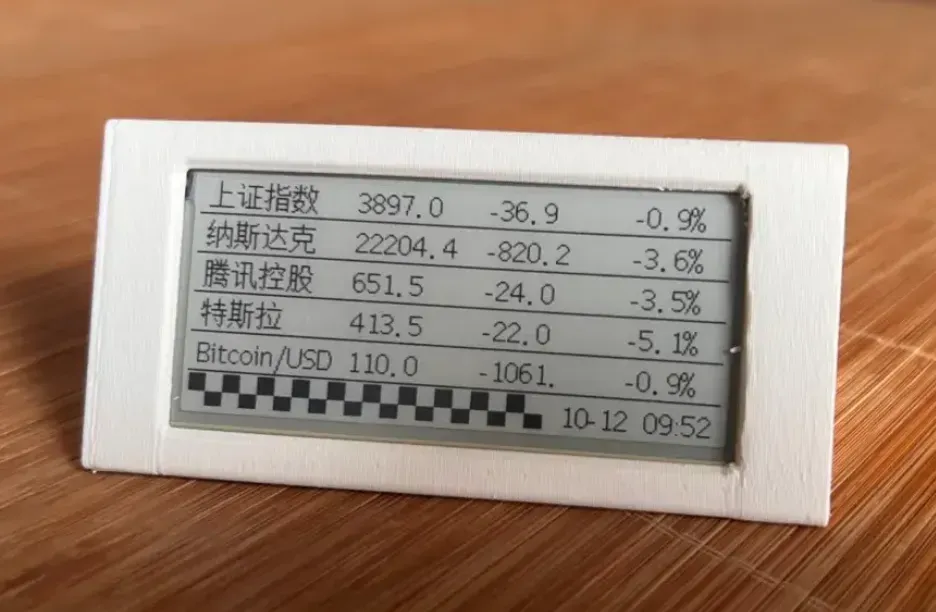
void showImageArray() {
Serial.println("Show image for array");
display.fillScreen(GxEPD_WHITE);
// 注意: 需要将原来的gImage_2in9位图数据转换为适合GxEPD2的格式
// 这里是示例,你需要根据实际的图像数据调整
// display.drawBitmap(0, 0, gImage_2in9, 296, 128, GxEPD_BLACK);
// 临时显示文字代替图像
display.setFont(&FreeMonoBold12pt7b);
display.setTextColor(GxEPD_BLACK);
display.setCursor(10, 50);
display.print("Image Array");
display.setCursor(10, 80);
display.print("(Bitmap Here)");
display.display();
}
void showDrawingDemo() {
Serial.println("Drawing Demo");
display.fillScreen(GxEPD_WHITE);
// 绘制点
display.drawPixel(10, 80, GxEPD_BLACK);
display.fillRect(10, 90, 2, 2, GxEPD_BLACK); // 2x2点
display.fillRect(10, 100, 3, 3, GxEPD_BLACK); // 3x3点
// 绘制线条
display.drawLine(20, 70, 70, 120, GxEPD_BLACK);
display.drawLine(70, 70, 20, 120, GxEPD_BLACK);
// 绘制矩形
display.drawRect(20, 70, 50, 50, GxEPD_BLACK); // 空心矩形
display.fillRect(80, 70, 50, 50, GxEPD_BLACK); // 实心矩形
// 绘制圆形
display.drawCircle(45, 95, 20, GxEPD_BLACK); // 空心圆
display.fillCircle(105, 95, 20, GxEPD_BLACK); // 实心圆
display.fillCircle(105, 95, 18, GxEPD_WHITE); // 内部白色,形成空心效果
// 绘制虚线 (GxEPD2没有直接的虚线函数,需要自己实现)
drawDottedLine(85, 95, 125, 95);
drawDottedLine(105, 75, 105, 115);
// 绘制英文文字
display.setFont(&FreeMonoBold9pt7b);
display.setTextColor(GxEPD_BLACK);
display.setCursor(10, 15);
display.print("waveshare");
display.setTextColor(GxEPD_WHITE);
display.fillRect(10, 20, 120, 15, GxEPD_BLACK);
display.setCursor(12, 32);
display.print("hello world");
// 绘制数字
display.setTextColor(GxEPD_BLACK);
display.setCursor(10, 48);
display.print("123456789");
display.setTextColor(GxEPD_WHITE);
display.fillRect(10, 50, 120, 20, GxEPD_BLACK);
display.setCursor(12, 68);
display.print("987654321");
// 中文显示 (GxEPD2对中文支持有限,需要特殊字体)
display.setTextColor(GxEPD_BLACK);
display.setCursor(150, 15);
display.print("Chinese Text");
display.setCursor(150, 35);
display.print("Need Special");
display.setCursor(150, 55);
display.print("Font Support");
display.display();
}
void showPartialRefreshDemo() {
Serial.println("Partial refresh demo");
display.fillScreen(GxEPD_WHITE);
display.setFont(&FreeMonoBold18pt7b);
display.setTextColor(GxEPD_BLACK);
display.setCursor(10, 40);
display.print("Time:");
display.display();
// 部分刷新区域 - 调整为适应18pt字体
int16_t x = 120;
int16_t y = 10;
int16_t w = 170;
int16_t h = 35;
int hour = 12, minute = 34, second = 56;
for (int i = 0; i < 20; i++) {
// 更新时间
second++;
if (second >= 60) {
minute++;
second = 0;
if (minute >= 60) {
hour++;
minute = 0;
if (hour >= 24) {
hour = 0;
}
}
}
// 部分刷新时间显示
display.setPartialWindow(x, y, w, h);
display.fillScreen(GxEPD_WHITE);
display.setTextColor(GxEPD_BLACK);
display.setCursor(x, y + 20);
// 格式化时间字符串
char timeStr[10];
sprintf(timeStr, "%02d:%02d:%02d", hour, minute, second);
display.print(timeStr);
display.display(true); // true表示部分刷新
delay(500); // 模拟1秒钟
}
}
void setup() {
Serial.begin(115200);
Serial.println("GxEPD2 EPD_2IN9 Demo");
// 初始化显示器
display.init(115200); // 串口波特率,用于调试
// 设置旋转方向 (0, 1, 2, 3 对应 0°, 90°, 180°, 270°)
display.setRotation(3); // 对应原代码的270度旋转
Serial.println("E-Paper Init and Clear...");
display.fillScreen(GxEPD_WHITE);
display.display();
delay(500);
Serial.println("1. 显示图像 (需要先准备位图数据)");
showImageArray();
delay(5000);
Serial.println("2. 绘图演示");
showDrawingDemo();
delay(5000);
Serial.println("部分刷新演示");
showPartialRefreshDemo();
// 最后清屏并进入睡眠
Serial.println("Clear...");
display.fillScreen(GxEPD_WHITE);
display.display();
Serial.println("Goto Sleep...");
display.hibernate();
}
void loop() {
// 空循环
}
|


 克隆工程
克隆工程 暂无相关工程
评论